
Home


Home

Hello,
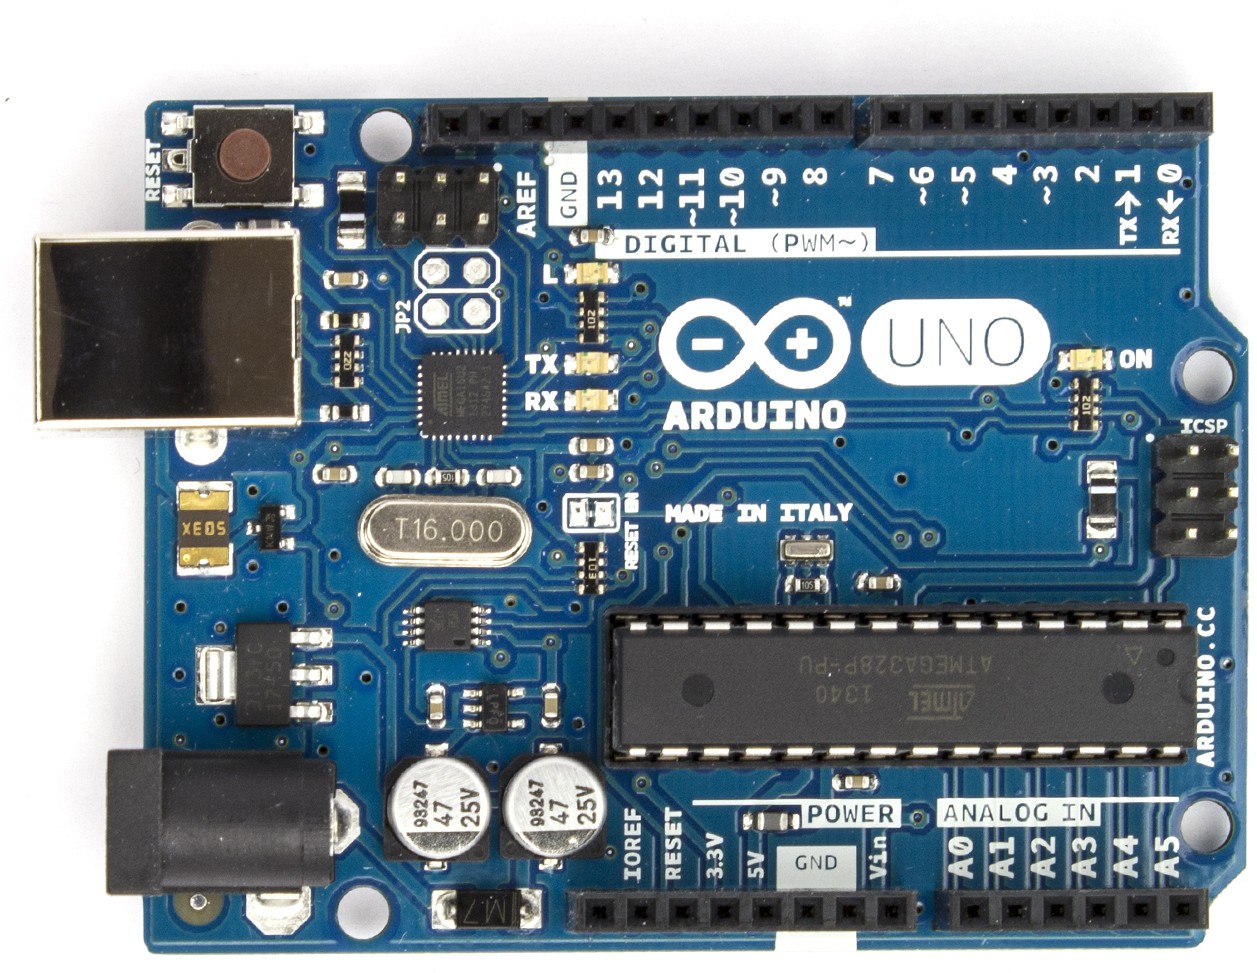
As I've stated earlier, Arduino is an extension or Development of a Micro-controller on a Board with other peripherals for help, hence, it is a Development Board.
A micro-controller is fixed over this board, hence, it is a part of Arduino.
Arduino has advantages like USB-USART, Runs on low voltage. LEDS for indication, Very less external circuits required for many projects etc
So, basically, Arduino is an extension of Micro-controllers & so, it has more advantages.

For me, the biggest advantages are speed and ease of development. The open source nature of Arduino has led to the availability of dozens of "shields" (i.e. daughter cards) that facilitate such things as Internet access, wireless networking, data logging, and device control. Another big advantage is the Arduino IDE which allows software development on all major platforms (Mac, PC, Linux) with an easy-to-use subset of C/C++.

Comments

Popular posts from this blog

Project #2: Repeating with for Loops When designing a sketch, you’ll often repeat the same function. You could simply copy and paste the function to duplicate it in a sketch, but that’s inefficient and a waste of your Arduino’s program memory. Instead, you can use for loops. The benefit of using a for loop is that you can determine how many times the code inside the loop will repeat. To see how a for loop works, enter the following code as a new sketch: Project 2 - Repeating with for Loops int d = 100; void setup() { pinMode(2, OUTPUT); pinMode(3, OUTPUT); pinMode(4, OUTPUT); pinMode(5, OUTPUT); pinMode(6, OUTPUT); } void loop() { First Steps 47 for ( int a = 2; a < 7 ; a++ ) { digitalWrite(a, HIGH); delay(d); digitalWrite(a, LOW); delay(d); } } .................................................................................................................................................................. The for loop will repeat the code within th
Project #3: Demonstrating PWM Now let’s try this with our circuit from Project 2. Enter the following sketch into the IDE and upload it to the Arduino: Project 3 - Demonstrating PWM int d = 5; void setup() { pinMode(3, OUTPUT); // LED control pin is 3, a PWM capable pin } void loop() { for ( int a = 0 ; a < 256 ; a++ ) { analogWrite(3, a); delay(d); } for ( int a = 255 ; a >= 0 ; a-- ) { analogWrite(3, a); delay(d); } delay(200); } .................................................................................................................................................................. The LED on digital pin 3 will exhibit a “breathing effect” as the duty cycle increases and decreases. In other words, the LED will turn on, increasing in brightness until fully lit, and then reverse. Experiment with the sketch and circuit. For example, make five LEDs breathe at once, or have them do so sequentially.